Tool theft prevention: a layered plan crews actually use

The fastest way to cut tool theft is a layered approach: secure transport, mark every tool visibly, and run a quick check-out routine every single day. No single lock, sticker, or app stops a determined thief. Combined, they make your gear a much harder, much less profitable target.
Start today with three moves:
- Secure your vehicle or toolbox with a hardened lock and park it somewhere hard to access overnight.
- Tag and photograph your ten highest-value tools right now, before you read another word.
- Start a five-minute end-of-shift check where someone physically confirms what’s in the van or cage.
The rest of this guide breaks down how each layer works, what it costs, and how to make the habits stick with a crew that’s busy and doesn’t want extra paperwork.
Key Takeaways
Reducing tool theft comes down to combining hardened physical security, fast daily procedures, and the right level of digital tracking for each tool’s value.
| Point | Details |
|---|---|
| Layer your defences | Combine physical locks, daily check routines, and tracking tech rather than relying on any single measure. |
| Secure the van first | Vans are the easiest target; slam locks, anchor points, and smart parking cut risk fast. |
| Match tracking to value | Use QR labels for hand tools, BLE beacons for kits, and GPS for trailers and plant. |
| Speed drives adoption | A check-out system only sticks if it’s faster than the paper alternative it replaces. |
| Report fast, with evidence | Serial numbers, photos, and logs turn a police report into an actionable lead. |
| Consider integrated software | Platforms like Dirt Champ pair tool and GPS tracking with dockets for real-time fleet visibility. |
Table of Contents
- Why layered tool theft prevention actually works
- Locking down vans and toolboxes against theft
- How do you secure tools at a job site overnight?
- QR, BLE, or GPS: which tool tracking method fits?
- Building check-in and check-out habits that stick
- What to do immediately after tools go missing
- Your 90-day tool security rollout
- Why the habit matters more than the hardware
- How Dirt Champ gives you visibility beyond the checklist
- Sources
Why layered tool theft prevention actually works
A padlock alone stops a lazy thief. It does nothing against someone with bolt cutters and ten minutes. That’s why Queensland Government guidance on tool theft points to layered prevention: perimeter controls, hardened locks, forensic marking, and GPS or BLE trackers working together rather than any one measure carrying the whole load.
Three layers do the work:
- Physical — deadlocks, anchor points, cages, and lighting that make access slow and visible.
- Procedural — check-in and check-out routines, assigned responsibility, and daily audits that make theft obvious fast.
- Digital — QR labels, Bluetooth beacons, and GPS trackers that turn a stolen tool into a traceable object instead of a lost one.
Each layer covers a gap the others miss. Physical security slows a break-in. Procedure catches an inside job or a missed return. Digital tracking turns “it’s gone” into “here’s where it is.” Thieves also sell stolen gear fast, usually through casual online listings, and a tool that’s obviously marked or traceable is worth less to a buyer and riskier to move. That drop in resale value is itself a deterrent, not just a recovery tool.
Pro Tip: Don’t buy every layer at once. Start with the cheapest physical fix (a better lock) and the cheapest procedural fix (a five-minute check), then add digital tracking to your highest-value gear once the habit is set.
Locking down vans and toolboxes against theft
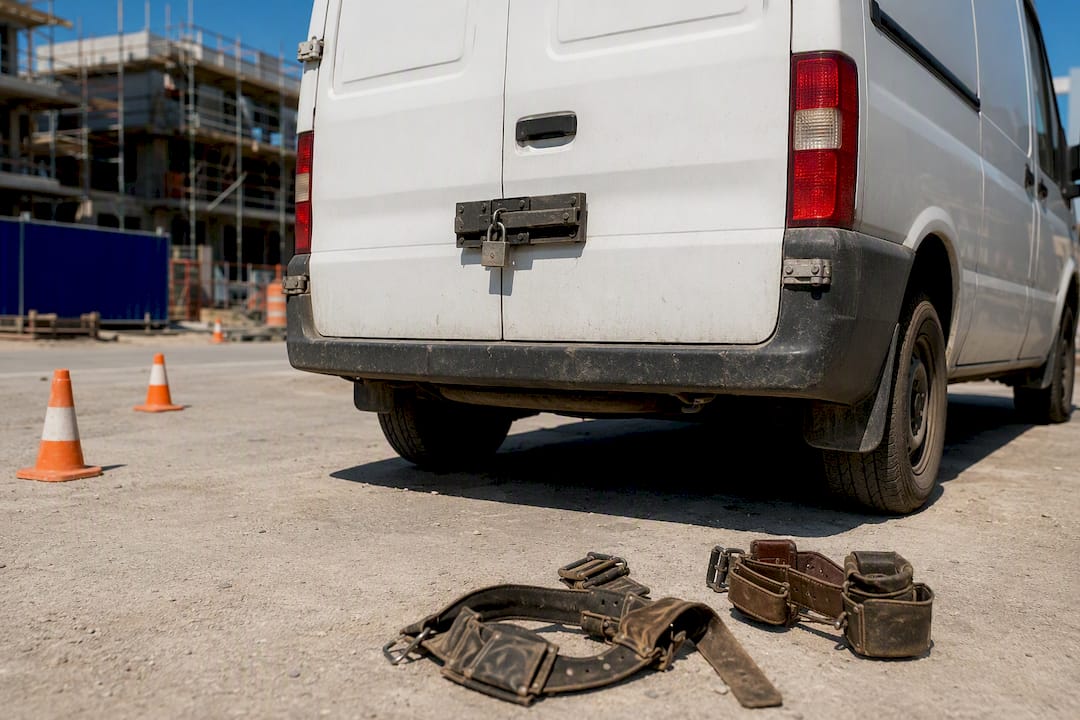
Your van is the easiest target on any site because it’s mobile, predictable, and often left overnight with a full kit inside. Queensland Police guidance on tool security recommends locking tools away, anchoring toolboxes to the vehicle tray, and keeping tools out of sight as baseline measures every trade should have in place.
Hardware upgrades that matter most:
- Slam locks and deadlocks on rear and side doors, since factory locks are often picked in seconds.
- Bolted tool vaults or lockable cages fixed to the tray, not just sitting loose.
- Anchor points welded or bolted into the vehicle floor for chaining larger equipment.
Parking tactics cost nothing and help just as much. Reverse against a wall or fence so rear doors can’t be opened. Choose well-lit spots near activity, not the dark end of a car park. Never leave tool branding or an open ute tray visible to anyone walking past.
Vehicle theft drives a large share of reported tool losses, which makes the van itself the single highest-leverage place to invest in better locks and smarter parking. Where possible, strip high-value tools out overnight rather than trusting any lock to hold against a patient thief with the right tools of their own.
How do you secure tools at a job site overnight?
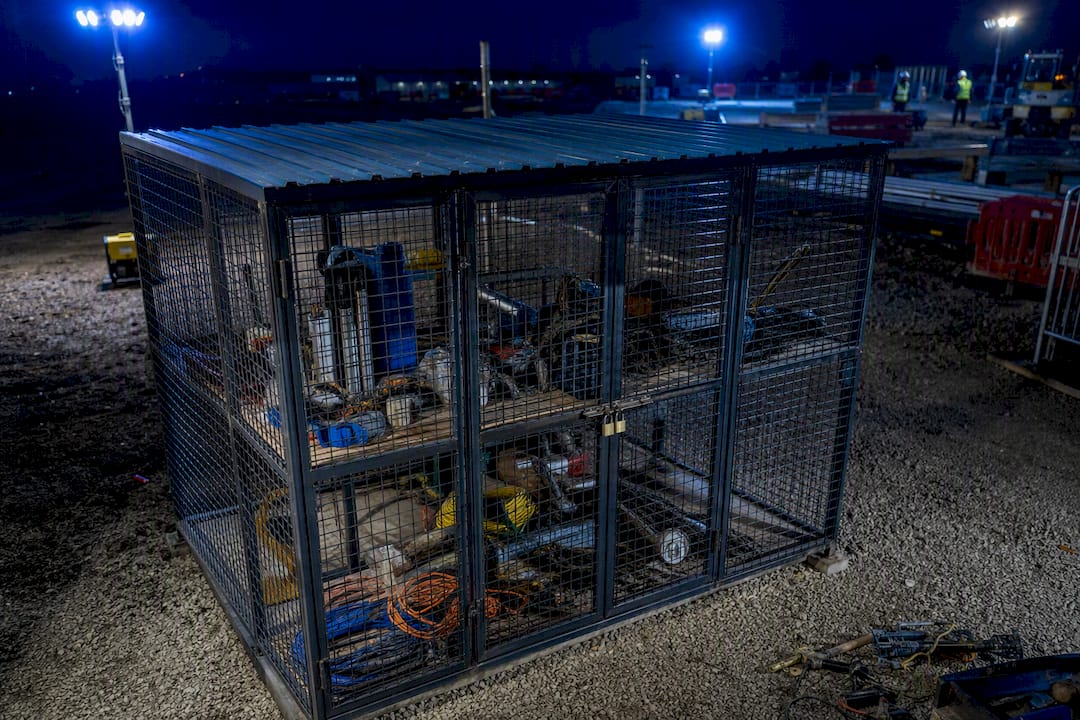
Site storage needs the same logic as the van: make access slow, make it visible, and make it obvious when something’s missing. A single gang box sitting in the open, even locked, is an easy target once the site empties out.
Physical upgrades worth the spend:
- Steel mesh cages or lockable containers, bolted or chained to a fixed anchor point rather than left freestanding.
- Hardened, closed-shackle padlocks rather than the thin brass ones tools often ship with.
- One centralised storage zone instead of tools scattered across several sheds, boxes, or vehicles.
Lighting and visibility do more heavy lifting than most crews expect. A storage cage under a motion-activated light, positioned where a passing patrol car or neighbour can actually see it, deters far more effectively than a cage tucked in a dark corner “for safety.” Position CCTV, even a basic battery unit, to cover the storage zone directly rather than the whole site generally.
Run a quick sweep at the end of each day: confirm the cage is locked, the lighting works, and nothing’s been left sitting outside the secure zone. That five-minute habit catches the gaps that letting the last person “sort it out” never does.
QR, BLE, or GPS: which tool tracking method fits?
The right tracking method depends on what the tool is worth and how it moves. Layered tracking combining QR stickers, BLE beacons, and GPS units gives different visibility levels for different asset tiers, and mixing methods across your kit usually beats picking just one.
| Method | Best for | Typical cost profile | What it gives you |
|---|---|---|---|
| QR or barcode labels | Hand tools, drills, small kit | Low, often cents per label | Fast check-in/check-out and a photographic record |
| BLE beacons | Tool chests, kits, mid-value bundles | Moderate, per-beacon hardware cost | Automatic proximity detection without manual scanning |
| Rugged GPS trackers | Trailers, plant, high-value mobile assets | Higher, plus ongoing subscription | Real-time location and movement alerts |
Forensic marking sits alongside all three. Etching a serial number or applying a UV-visible tag makes a tool harder to sell on and easier for police to match if it turns up. Victoria Police notes that visible marking both deters thieves and lowers resale value on second-hand markets, which matters because most stolen tools are moved fast and cheap through casual private sales.
Pro Tip: Put labels near the manufacturer’s plate, not on a surface that takes heavy wear. A tag that scratches off in a month isn’t a deterrent, it’s a sticker.
Building check-in and check-out habits that stick
Rules only work if your crew actually follows them, and that comes down to speed. A QR check-out that takes five seconds beats a manual logbook entry that takes thirty, and that gap is usually the difference between a system crews adopt and one they quietly ignore by week two.
- Make the digital option the fastest option, not an extra step layered on top of paper.
- Assign one person per tool or kit, so accountability doesn’t disappear into “someone on the crew.”
- Run a short end-of-shift audit and treat a missing tool as information, not a blame exercise.
Subcontractor gear needs its own rule set. Nominate a single point of contact per sub-crew, require a signed checkout for any shared equipment, and hold final payment until borrowed tools are confirmed returned. Digital audit trails through QR or barcode tagging make this dramatically easier to enforce than a verbal agreement and a handshake.
Pro Tip: Frame the daily audit as protecting the crew’s gear, not policing them. A non-punitive “what’s missing” check gets honest answers; a blame-first one just teaches people to stay quiet.
What to do immediately after tools go missing
Speed matters here as much as it does in prevention. A fast, detailed police report gives you and your insurer something to act on; a delayed one usually goes nowhere.
- File a police report straight away with serial numbers, photos, and any check-out logs showing who had the tool last.
- Mark stolen items in any tracking app you use, and share GPS or BLE location history with police if the tool was fitted with one.
- Keep receipts, photos, and your inventory register on hand for the insurance claim and for cross-checking second-hand marketplace listings.
A swift, well-documented report materially improves recovery odds and insurer outcomes, largely because it gives police something specific to search for instead of a vague description. This is exactly why the marking and tracking habits from earlier pay off here: a tool with a recorded serial number and a photo is a tool police can actually match if it surfaces at a pawn shop or online listing.
Your 90-day tool security rollout
- This week: secure the van or toolbox, tag your top ten tools, and brief the crew in five minutes flat.
- This month: apply durable labels across the full kit, start daily checks, and log serials and photos in a register.
- This quarter: add BLE or GPS to high-value assets and review the whole system for gaps.
Why the habit matters more than the hardware
Locks and labels only work if someone actually uses them every day, and that’s where most tool security plans quietly fail. Paper logs get skipped when a crew’s rushing, and a system nobody trusts is worse than no system at all.
What tends to make the difference is speed. A five-second QR scan or an automatic GPS ping fits into a busy morning; a clipboard doesn’t. That’s the honest argument for software over paper: not that paper can’t work, but that it rarely survives a genuinely busy site for more than a few weeks. If your current system is falling over for exactly that reason, it’s worth looking at whether a digital one would actually get used.
— Mike
How Dirt Champ gives you visibility beyond the checklist
Once your locks, labels, and check-out habits are in place, the next gap is usually visibility: knowing where your gear, vehicles, and dockets actually are without chasing five different people for an update. Dirt Champ brings tool and asset tracking, live GPS vehicle tracking through the OBD port, and digital dockets into one platform, so a check-out isn’t just a habit your crew keeps, it’s a record your office can see in real time.
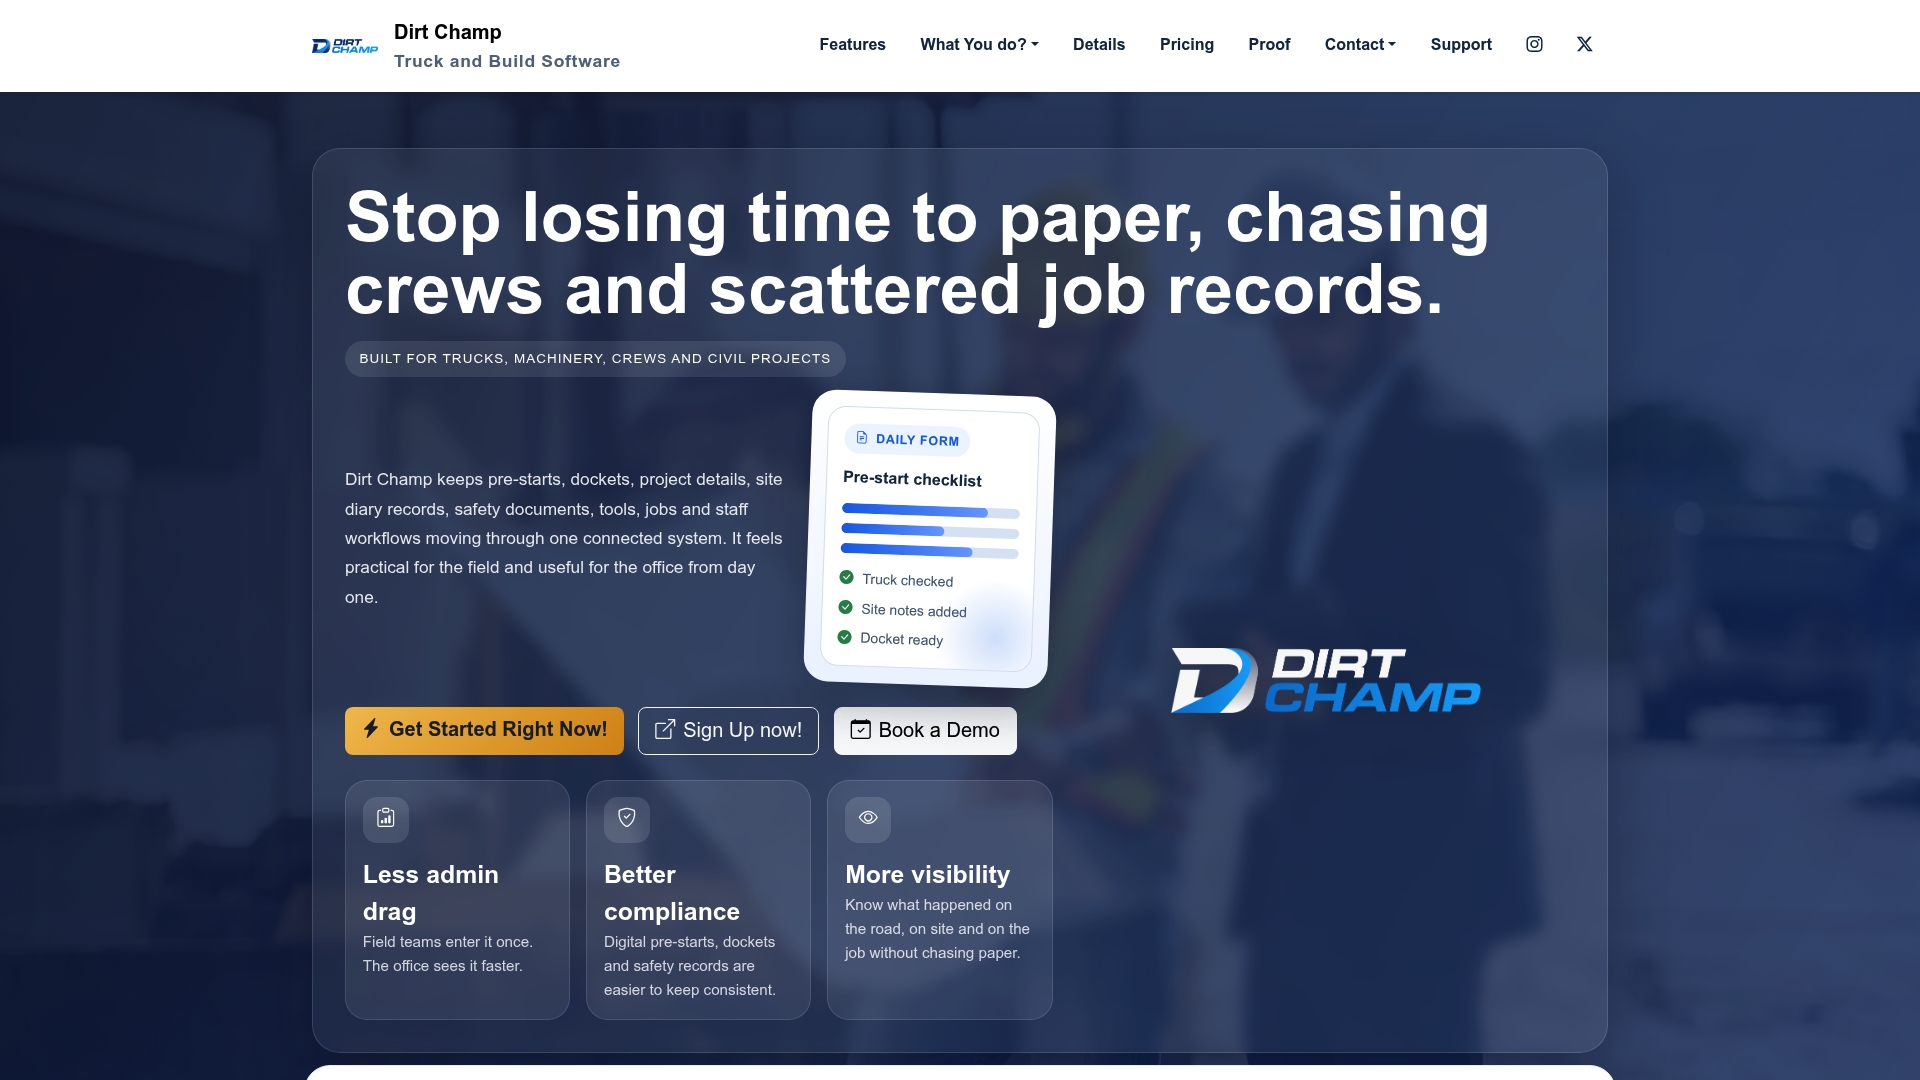
That matters most for fleet managers and site supervisors juggling multiple crews, subcontractors, and vehicles across active jobs, where a missing tool or an unlogged trailer can otherwise sit unnoticed for days. Instead of stitching together paper logs, spreadsheets, and separate tracking apps, everything from pre-starts to compliance records sits in a single view. If your team has outgrown the clipboard and needs a system that keeps up, check out Dirt Champ’s platform and see what a proper rollout looks like for your fleet.
Sources
- Tool Security (Queensland Police)
- How to stop losing tools on the job site (InventoryQuick blog)
- Secure your tools (Victoria Police)