Cut Dispute Risk: One Week Construction Photo Documentation Routine
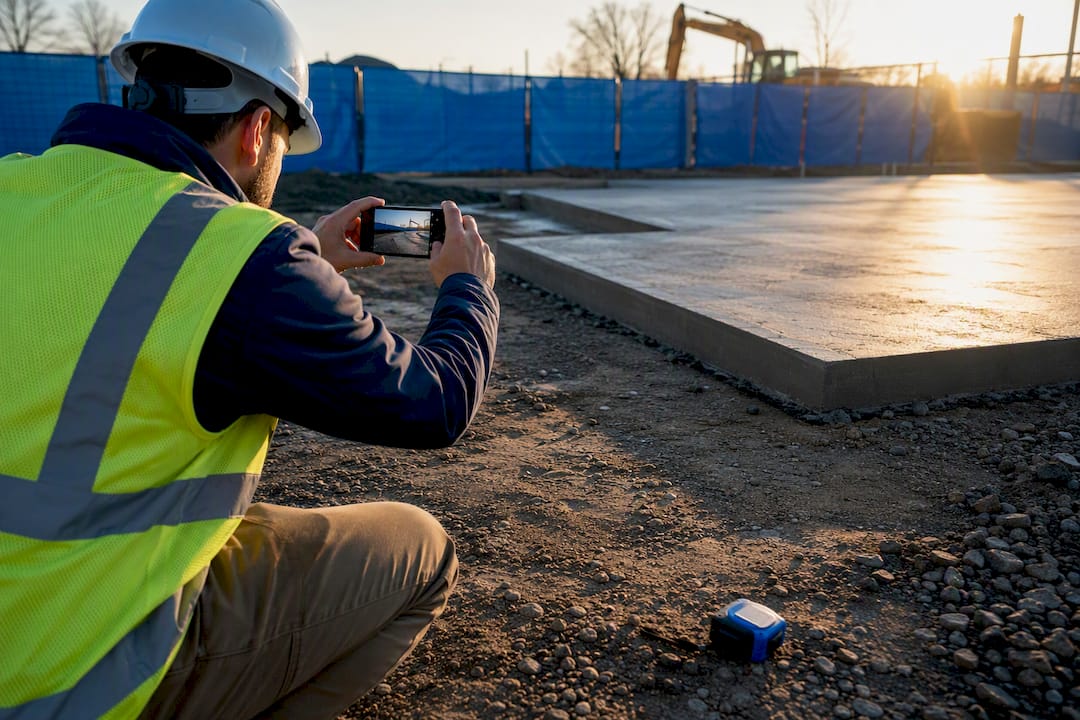
The most reliable construction photo documentation system is a stage-based programme: baseline photos of existing conditions, professional milestone photography of concealed work, daily route captures by the crew, and a single timestamped archive tying every image to a plan location. This structure matters because A large majority of construction disputes trace back to poor project documentation. Platforms like Dirt Champ exist to make that structure easy to run daily. Here’s how to build it stage by stage.
TL;DR:
- Regularly photograph foundation and structural work immediately after completion, before covering or cladding, and ensure every image is timestamped and linked to a plan zone.
- Use a fixed daily route, follow the three-shot rule (wide, medium, close), and stamp every photo with location and time to create consistent, searchable records.
- Store images in a well-organized archive with a clear folder structure, metadata, and preserved original copies to facilitate quick retrieval during disputes or inspections.
- Combine multiple tools like fixed cameras, drone overviews, and scheduled professional photography to capture comprehensive site progress, especially on large or high-risk projects.
- Enforce a simple habit of capturing photos before concealment, assigning specific team members to the routine, to ensure reliable documentation that minimizes dispute risks.
Table of Contents
- What photos do you need before construction starts?
- Which milestones can you never photograph again?
- How do you build a repeatable daily photo routine?
- Where should you store and organise site photos?
- Which tools actually cover the full site?
- Making the workflow run: capture, tag, report
- What actually works once the crew is doing it every day?
- Get your photo programme running with Dirt Champ
- Sources
What photos do you need before construction starts?
Baseline photos protect you before a single shovel hits dirt. Without them, a neighbour’s cracked fence or a pre-existing driveway stain becomes your liability the moment work begins, and a council inspector without a “before” record has nothing to weigh your claim against. This is the cheapest insurance you’ll buy on the whole job.
Capture these before possession or mobilisation:
- Existing structures on site, including any damage, cracking, or wear already present
- Boundary features, fences, retaining walls, and shared driveways
- Survey markers, pegs, and benchmark points
- Visible utilities, service pits, and stormwater infrastructure
- Permit boards, site signage, and approved plan documents on display
- Adjacent property faces, particularly walls or structures within a few metres of your boundary
Photograph at least two to three metres beyond your site boundary wherever access allows. Neighbouring properties are exactly where disputes originate, and a photo taken from inside your fence line proves nothing about what was happening next door.
File names should carry the date, location tag, and a short description (for example, 2026-02-03_northboundary_fenceline.jpg), with time and GPS metadata attached wherever your camera or app supports it. Do this walk-through the day before possession, not the week before. A rushed baseline is barely better than no baseline at all.
Which milestones can you never photograph again?
Some moments on a build happen once. Miss them, and there’s no second chance. Foundation reinforcement, structural connections, and waterproofing membranes all get buried, poured over, or clad within hours of completion, and once they’re covered, the only proof they were done correctly is whatever you captured beforehand.
Prioritise these concealed or irreversible stages:
- Foundations and reinforcement steel before concrete pour or backfill
- Structural connections, bolts, and welds before cladding or lining
- Mechanical, electrical, and plumbing (MEP) rough-in before wall or ceiling closure
- Waterproofing membranes before screed or tiling
- Roof substrate and flashing details before final roofing material goes on
- Cladding preparation and flashing before the finished skin is fitted
Photograph immediately after the trade or inspector signs off, and before the next trade covers the work. That’s the entire window. Build a simple rule into your site programme: no concealment work proceeds until photos are logged and the supervisor confirms capture, which means notifying whoever runs the photo record before scheduling the pour or the closure.
The cost of skipping this step is real. Documentation gaps sit behind most construction disputes, and the disputes that drag longest are almost always the ones where nobody can prove what was under the slab or behind the wall.
How do you build a repeatable daily photo routine?
Consistency beats camera quality every time. A crew member walking the same route, standing at the same column grid line, shooting from the same height each day produces a comparable timeline. Someone snapping random angles on a good phone does not, no matter how sharp the image is.
- Set a fixed route. Walk the same path through the site each day or week, stopping at marked points so every photo lines up with the last one taken from that spot.
- Apply the three-shot rule. Take a wide shot for context, a medium shot for the work area, and a close shot for detail. A concrete delivery gets a wide shot of the truck on site, a medium shot of the pour location, and a close shot of the slump test or finish.
- Stamp every photo. A visible time and location stamp on the image itself holds up better than hidden EXIF data, because visible stamps survive compression and sharing in ways buried metadata doesn’t.
- Name and tag consistently. Use the same file naming pattern every day, and tag each photo to its plan zone so it’s searchable later, not just filed by date.
Pro Tip: Assign the daily route to one person, not “whoever’s free.” Rotating photographers is how routes drift and angles stop matching week to week.
Where should you store and organise site photos?
An archive is only as good as its worst search. If a claims manager or council officer has to scroll through six months of unsorted images to find one footing inspection, your documentation has failed at the one moment it needed to work.
Build the archive around three principles: one central source of truth, preserved originals kept separate from any working copies, and every photo linked to a plan zone rather than just a date folder. That linkage is what turns a photo library into a usable project record instead of a pile of images nobody can retrieve.
| Element | Minimum standard |
|---|---|
| Folder structure | Project > Zone/Level > Date |
| File naming | Date, zone code, short description |
| Metadata fields | Time, GPS location, uploader, trade/stage |
| Original preservation | Unedited copy retained, never overwritten |
| Retention period | Full defects liability period, minimum |
When evaluating a platform to hold this archive, prioritise plan overlays that pin photos to drawings, map-based filtering, and one-click report export for claims or client updates. Back everything up off the local device the same day it’s captured; a phone that’s lost, stolen, or wiped is how six months of milestone photos disappear overnight. On handover, confirm the full archive transfers with the project, not just the highlights someone remembered to forward.
Which tools actually cover the full site?
No single tool captures everything a project needs, which is exactly why the strongest programmes combine a few deliberately rather than relying on one.
-
Field capture apps handle daily crew photos with automatic GPS and time stamping, and should support offline capture with delayed upload so a dead zone on site doesn’t cost you the record.
-
GPS-stamp cameras cover situations where a phone isn’t practical, keeping the same visible metadata standard.
-
24/7 jobsite cameras catch what crews miss entirely, particularly overnight deliveries, weekend incidents, or weather events, and are especially valuable because permanent cameras fill the gaps between scheduled visits.
-
Scheduled professional photography on a weekly cadence suits active commercial projects, layering a higher-quality, independently timestamped record over daily internal captures.
-
Drone overviews add periodic aerial context that ground-level shots simply can’t replicate, useful for large-format sites and earthworks progress.
Fixed cameras typically run US$100 to $500 per month per position, with most commercial sites running two to four positions. Weigh that against the cost of a single unresolved dispute and the maths usually favours the camera. Smaller residential jobs can run on a phone app and a weekly walk-through; mid-size commercial projects benefit from adding fixed cameras at entry points and pour zones; large or high-risk builds justify the full stack, cameras, scheduled pro photography, and drone passes together… Whatever combination you choose, insist on plan overlays and exportable reports, because a tool that can’t hand data to your project management system just adds another silo.
Making the workflow run: capture, tag, report
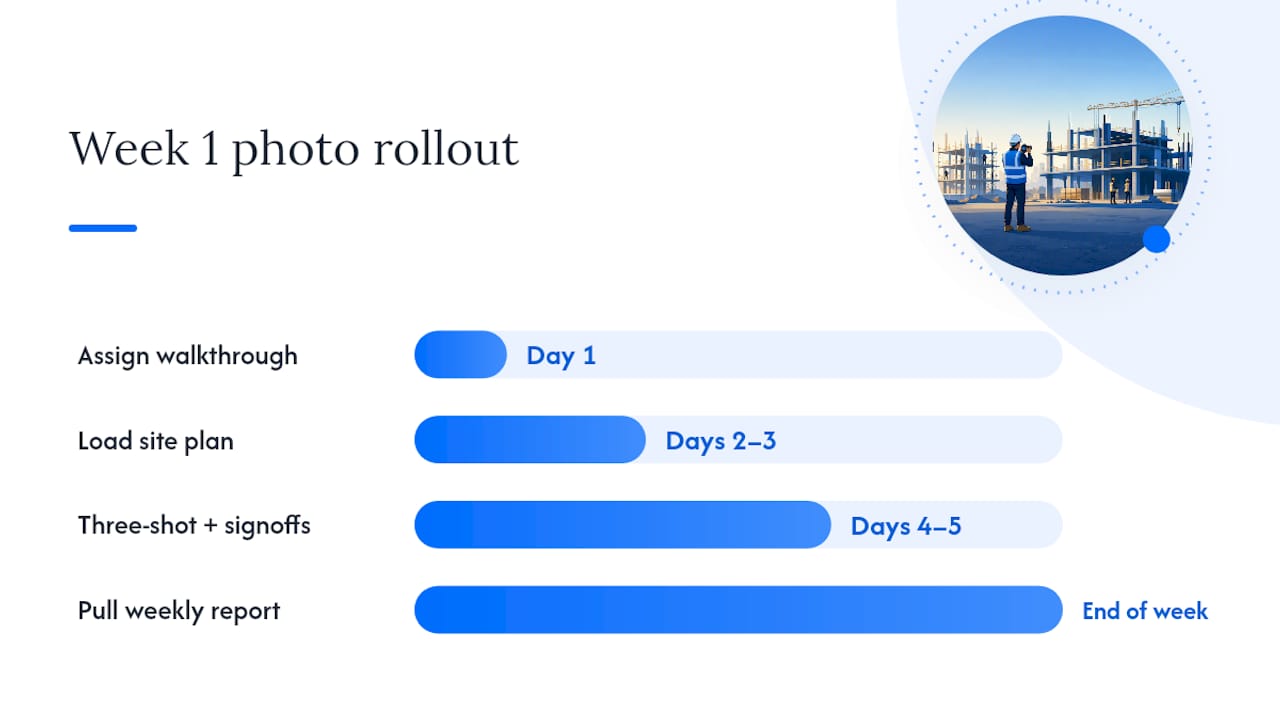
A photo programme only works if the daily habit is easier than skipping it. Dirt Champ maps directly onto the stage-based system above: crews capture site photos against digital pre-starts and dockets, tag them by zone, and the record feeds straight into daily site diaries without a separate upload step.
A practical first-week rollout looks like this:
- Day 1: Assign the baseline walk-through and daily route to named people, not “the crew.”
- Days 2 to 3: Load the site plan into the platform so photos tag against zones from day one.
- Days 4 to 5: Run the three-shot rule on every milestone due that week, log concealment sign-offs before covering.
- End of week: Pull an automated report and check every zone has at least one tagged photo.
Pro Tip: If a zone has zero photos by Friday, that’s your rollout gap, not a coincidence. Fix the route before you fix the tool.
What actually works once the crew is doing it every day?
The programmes that survive past month one are the ones built around what a tired crew will actually do at 4:30pm, not what looks good in a policy document. Consistency wins over camera quality almost every time. A supervisor who walks the same six points on site every afternoon, using a phone, beats a project with a US$2,000 camera system that nobody remembers to check.
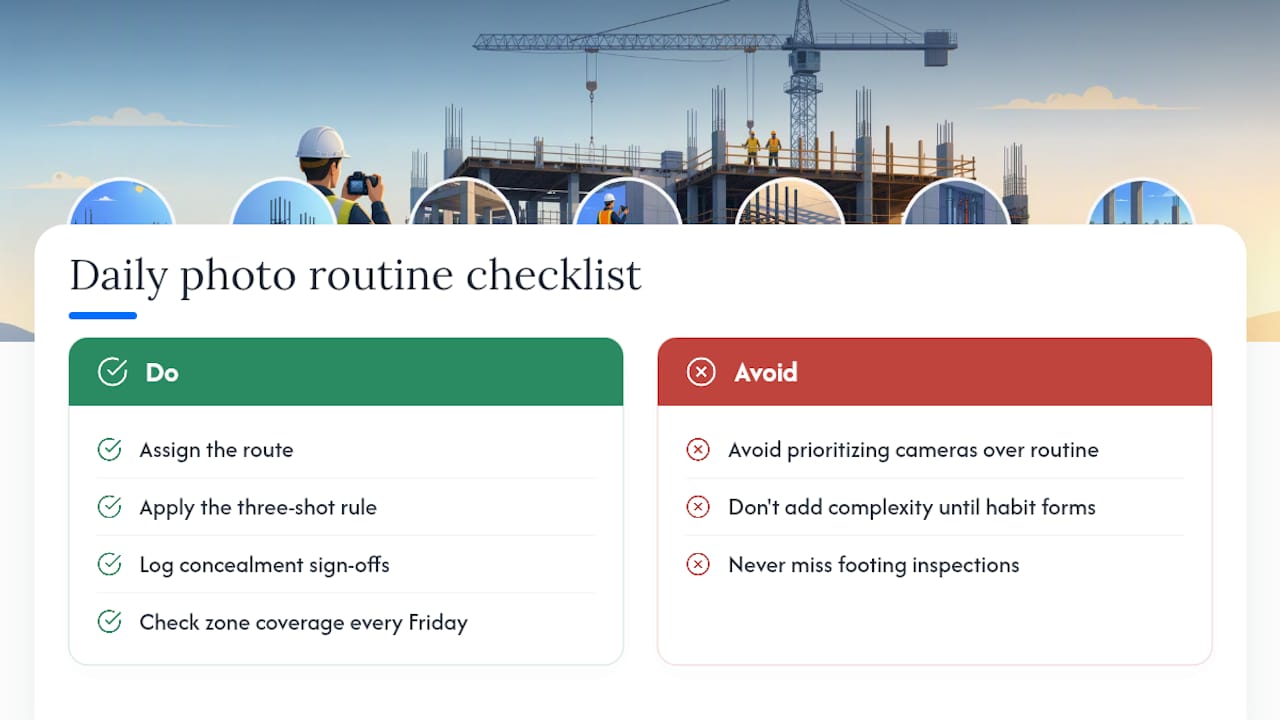
The capture window before concealment is the single highest-value habit to enforce. Everything else, folder structure, naming conventions, report templates, can be tidied up later. A missed footing inspection cannot be recaptured at any price.
For week one, keep the checklist short: assign the route, apply the three-shot rule, log concealment sign-offs, and check zone coverage every Friday. That’s the whole system. Add complexity only once that habit is automatic.
— Mike
Get your photo programme running with Dirt Champ
Dirt Champ replaces scattered phone galleries and paper site diaries with one platform where every photo, pre-start, and docket lives against the job it belongs to. GPS capture happens automatically through the vehicle’s OBD port, no separate hardware install, so location and time stamps attach themselves without anyone remembering to turn on a setting.

A demo walks through how your crew’s daily route, milestone photos, and site diaries feed into one automated report your office can pull without chasing anyone for files. If you’re already running a documentation system on paper or scattered folders, the simplest next step is booking a Dirt Champ demo and testing it against one live project before rolling it out fleet-wide. You’ll see your first automated report before you’ve committed to anything.